
Cacti is an open source web-based system and network monitoring tool. Cacti designed as the PHP front-end application for the RRDtool (Round-Robin database tool), it allows a user to poll the services at an interval of time and resulting in the graph format. Cacti is generally used to get a graph data for the CPU and network bandwidth utilization, it monitors the network traffic by polling a router or switch via snmp.
Before installing cacti, first we need to install apache with php, mysql, SNMP and RRDtool.
Install Apache, MariaDb php SNMP and RRDtool
Login in your Linux machine as root and run following command to install apache, php, MariaDB:
# yum install httpd httpd-devel mariadb-server php-mysql php-pear php-common php-gd php-devel php php-mbstring php-cli -y
Install php-snmp, net-snmp and rrdtool
# yum install php-snmp net-snmp-utils net-snmp-libs rrdtool -y
Start HTTPD, MySQL and SNMP service
To start HTTPD, MySQL and SNMP service enter following command in your console:
# systemctl start httpd.service
# systemctl start mariadb.service
# systemctl start snmpd.service
Add HTTPD, MySQL and SNMP service to start on boot time:
# systemctl enable httpd.service
# systemctl enable mariadb.service
# systemctl enable snmpd.service
Setup MySQL database and User Accounts
First, set the MySQL root password:
# mysqladmin -u root password YOUR_PASSWORD
Now, create cacti database. Login into your MySQL server and create cacti database width user cacti and set the password for it:
# mysql -u root -p
MariaDB [(none)]> create database cacti;
MariaDB [(none)]> GRANT ALL ON cacti.* TO cacti@localhost IDENTIFIED BY 'cactipass';
MariaDB [(none)]> FLUSH privileges;
MariaDB [(none)]> quit;
Install Cacti on RHEL/CentOS 7.x
For installing cacti trough YUM command you must enable EPEL repository:
# yum install epel-release -y
After enabling EPEL repository, type following command to install cacti:
# yum install cacti -y
Install cacti tables to MySQL and configure MySQL settings for cacti
Now, import cacti database tables from the cacti.sql file. First locate cacti.sql file:
# rpm -ql cacti|grep cacti.sql
/usr/share/doc/cacti-0.8.8b/cacti.sql
Import tables to cacti database:
# mysql -u cacti -p cacti < /usr/share/doc/cacti-0.8.8b/cacti.sql
Enter password:
Open /etc/cacti/db.php file using nano of VI editor and edit the below lines:
$database_type = "mysql";
$database_default = "cacti";
$database_hostname = "localhost";
$database_username = "cacti";
$database_password = "cactipass";
Open http port in firewall
Open an http port in firewall:
# firewall-cmd --permanent --zone=public --add-service=http
# firewall-cmd --reload
Configure apache to Network Accessible
Open file called /etc/httpd/conf.d/cacti.conf
# etc/httpd/conf.d/cacti.conf
Now edit the “Allow From” line, Either set to ALL or enter your LAN subnet to allow access to cacti:
Alias /cacti    /usr/share/cacti

<Directory /usr/share/cacti/>
        <IfModule mod_authz_core.c>
                # httpd 2.4
                Require host 192.168.0.0/24
        </IfModule>
        <IfModule !mod_authz_core.c>
                # httpd 2.2
                Order deny,allow
                Deny from all
                Allow from 192.168.0.0/24
        </IfModule>
</Directory>
After editing cacti configuration file, restart the Apache service:
# systemctl restart httpd.service
Set cron for cacti
Open /etc/cron.d/cacti file and uncomment the line:
*/5 * * * * cacti /usr/bin/php /usr/share/cacti/poller.php > /dev/null 2>&1
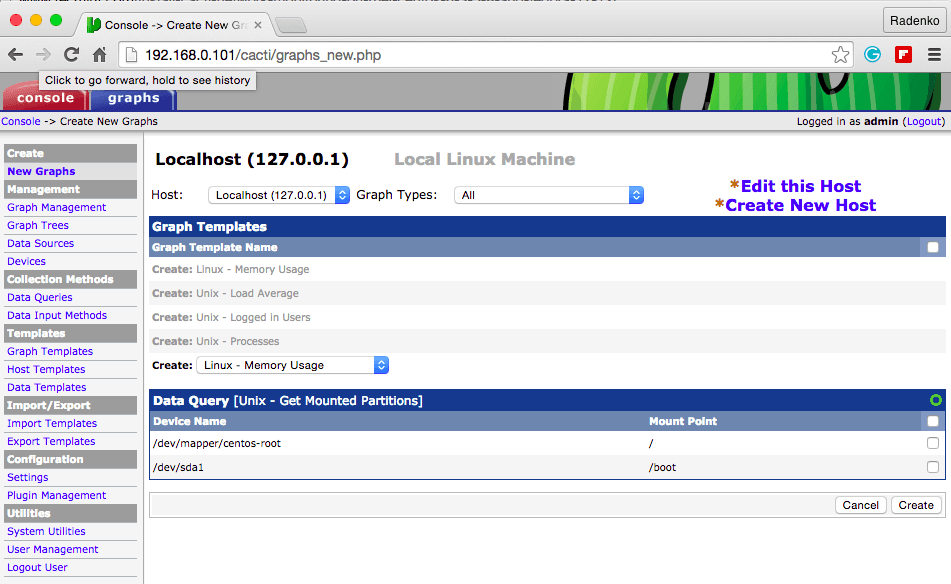
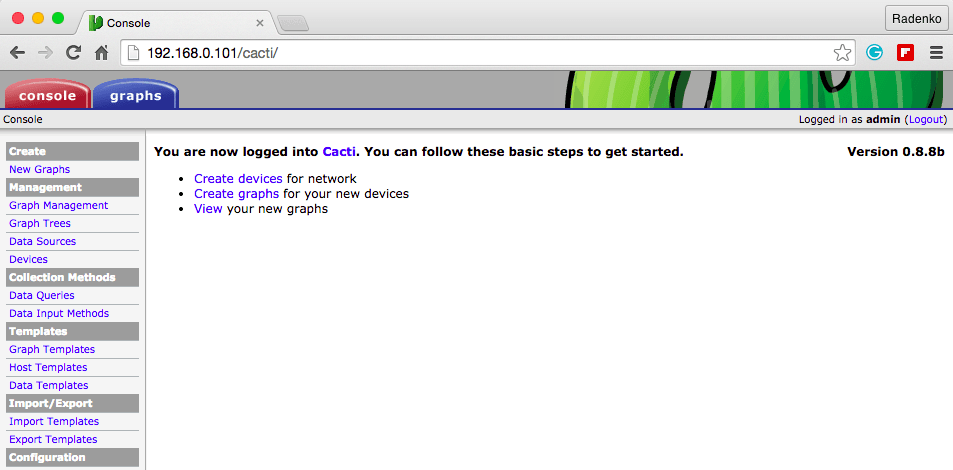
Run cacti installer
Go to http://YOUR-IP-ADDRESS/cacti/ and just follow the instructions on screen. The default username and password for cacti is admin/admin. Upon first login you will be forced to change the default password.
Thanks for reading this article. If you get this article helpful, please don’t forget to share it.
More information about cacti, see HERE.