
This tutorial shows the installation of an Ubuntu 18.04 LTS server edition in detail with many screenshots.
What’s new in Ubuntu Server 18.04 LTS Bionic Beaver
Here are the highlights from the Ubuntu team on the new release:
- Linux 4.15 kernel with Spectre and Meltdown patches and AMD Secure Memory Encryption support
- Configure networking through netplan.io. ifupdown has been depreciated
- Updated MD driver for software RAID improvements and new ZFS on Linux support
- Python 2 is no longer installed by default. Python 2 will be moving from main in 20.04 LTS.
- Supported by Canonical until 2023
- Runs on all major architectures – x86, x86-64, ARM v7, ARM64, POWER8 and IBM s390x (LinuxONE)
- New ubuntu-minimal images that are smaller and boot faster
- A new, default server installer ISO with a new interface and faster install
- LXD 3.0 – Linux containers including clustering, Qos, and resource controls (CPU, memory, block I/O/ graphics, and storage quota)
- Updates to LXD (v3.0), DPDK (v17.11.1), Postgresql (v10.3), Libvirt (v4.0), Open vSwitch (v2.9), NGINX (v1.13), Qemu (v2.11.1), Docker (v17.03), Puppet (v4.10), MySQL (v5.7), PHP (v7.2), and more
- OpenStack updated to OpenStack Queens release.
Here are a ton of other changes. You can check them out here.
Requirements
To install an Ubuntu Server, you will need the following prerequisites:
- The Ubuntu 18.04 server CD, available here
- A fast internet connection is recommended as the package updates get downloaded from Ubuntu servers during installation.
Install Ubuntu Server 18.04 LTS Bionic Beaver
Boot And Install Ubuntu Server
Insert the Ubuntu install CD / DVD into your system and boot from it. When you install the OS in a virtual machine like I will do it here, then you should be able to select the downloaded ISO file as source for the CD/DVD drive in VMWare and Virtualbox without burning it on CD first.
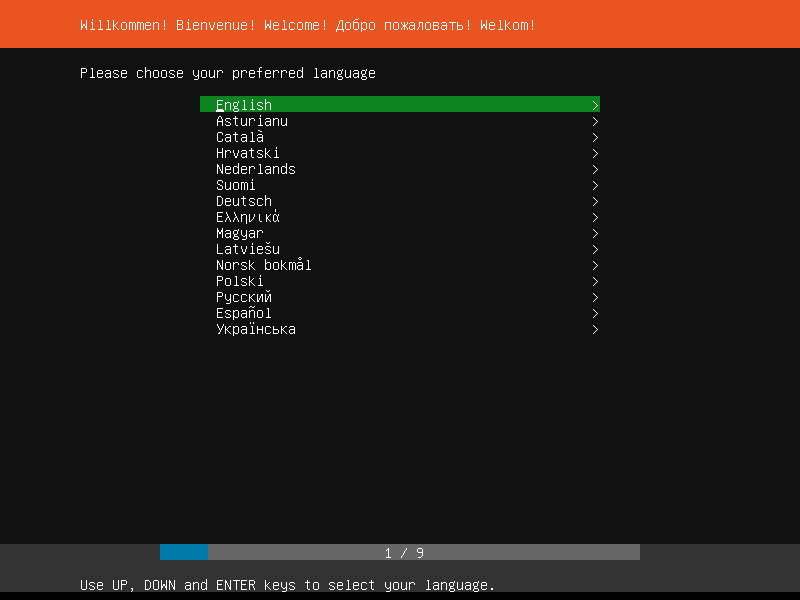
The first screen will show the language selector. Please select your language for the installation process:

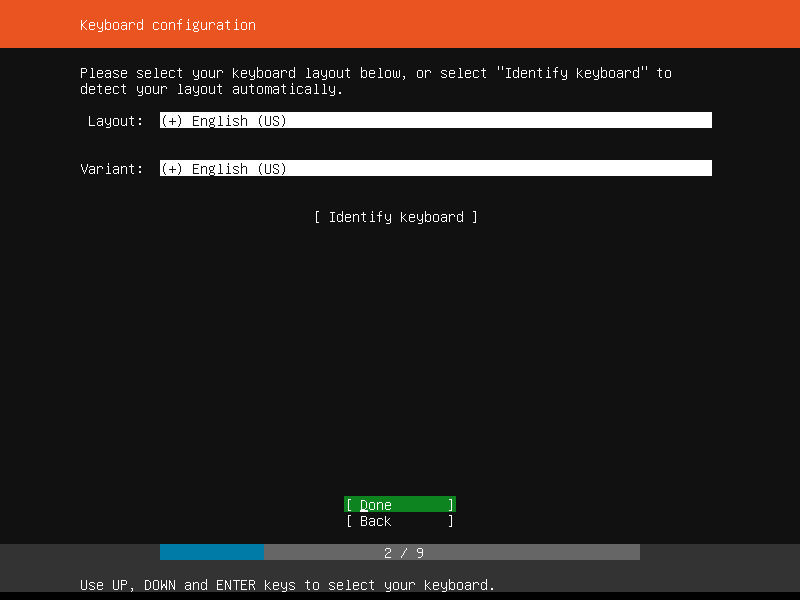
Then select your keyboard layout for the installation (the default is English (US)) and continue
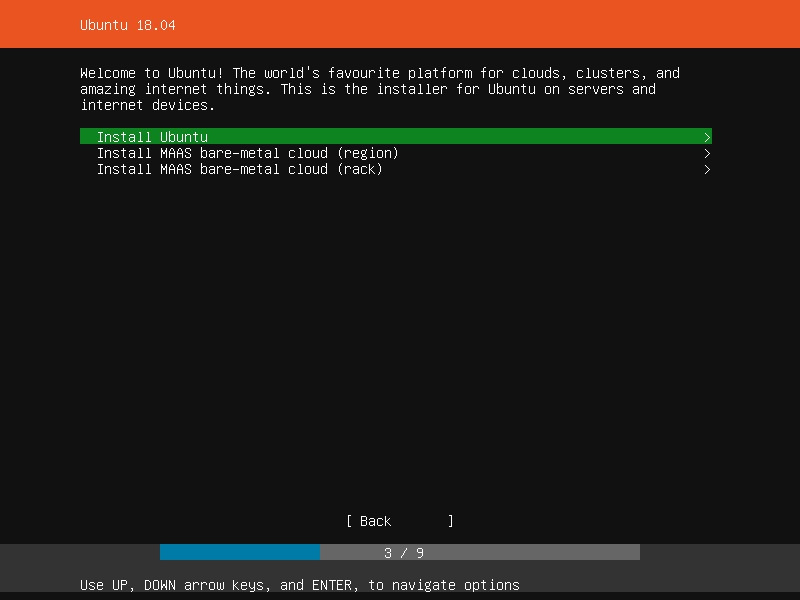
After that select Intall Ubuntu
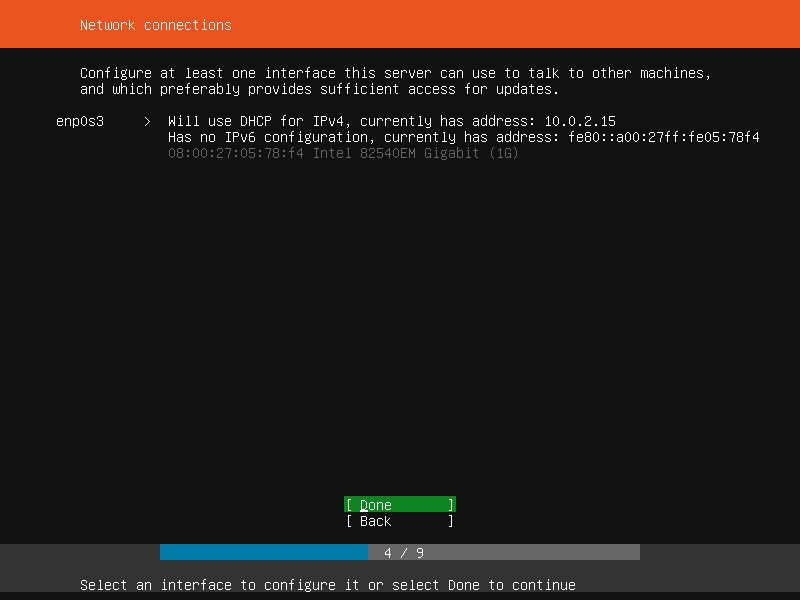
On the next screen, select at least one network card to configure. The installer will automatically detect and try to configure any network connections via DHCP.
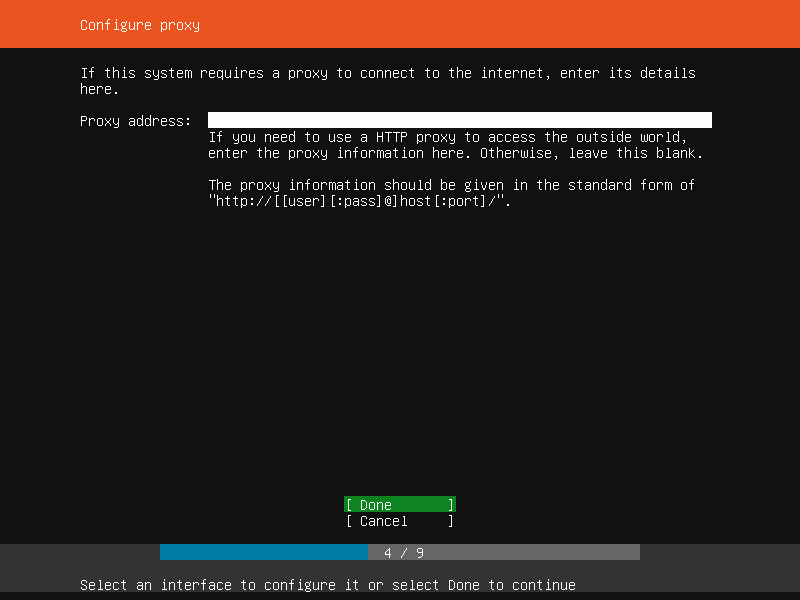
If your system is required to use a Proxy server, then you must enter your details here. If you do not require a Proxy server, then this can be left blank. Once you have made your choice, scroll down to “Done” and press “Enter”.
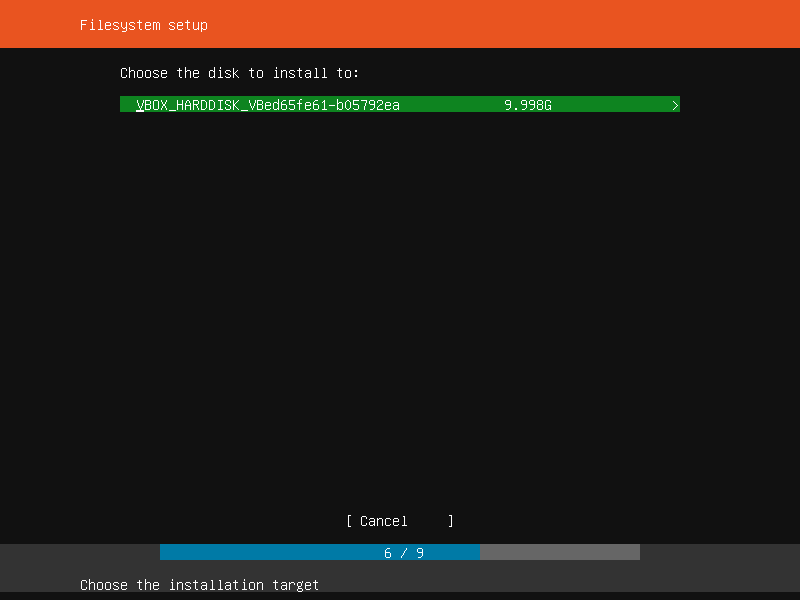
The next step is to configure storage. The recommended install is to have an entire disk or partition set aside for running Ubuntu. If you need to set up a more complicated system, the manual option will allow you to select and reorganise partitions on any connected drives.

Next, select the disk to use to install on, and continue
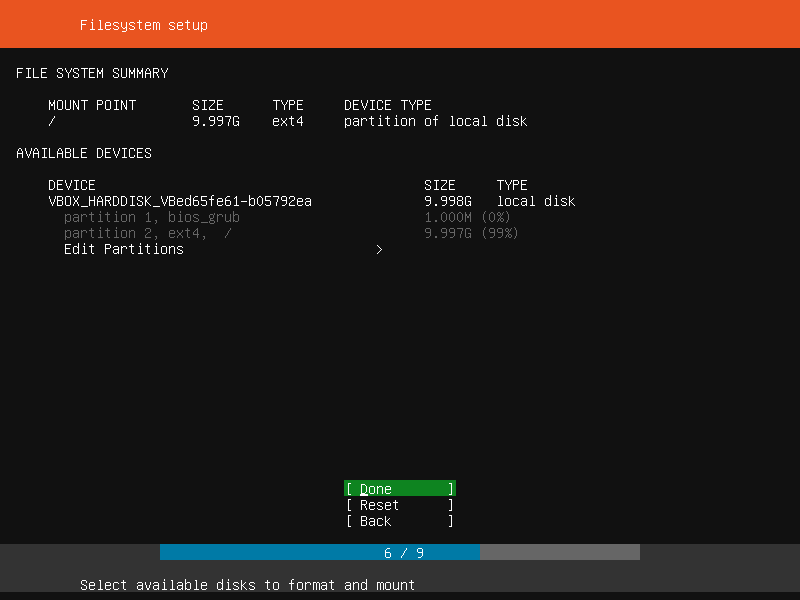
Your choice(s) should now be displayed. If you are happy to continue select the option “Done” or if you wish to make any changes, use the option “Back”.
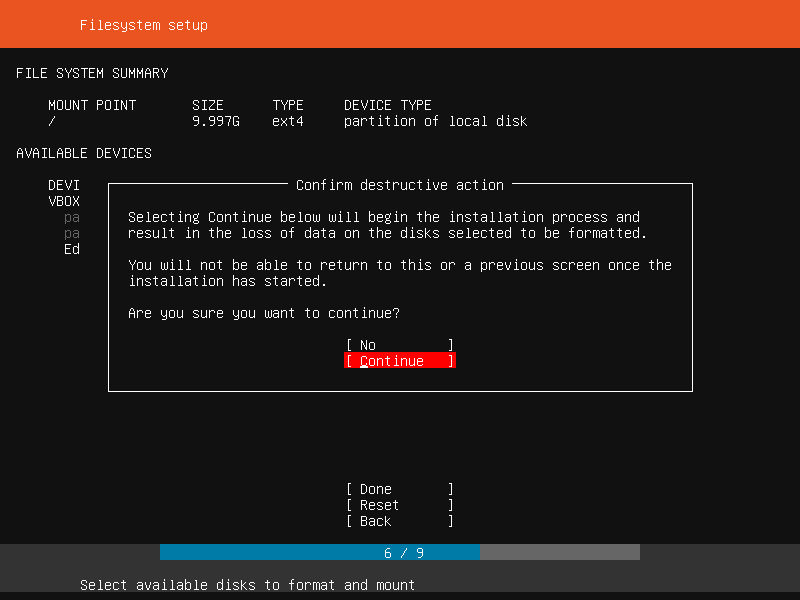
Before the installer makes any destructive changes, it will show this final confirmation step. Double check that everything looks good here and you aren’t about to reformat the wrong device!
There is no “Undo” for this step, once you confirm the changes, the indicated devices will be overwritten and any contents may be lost!
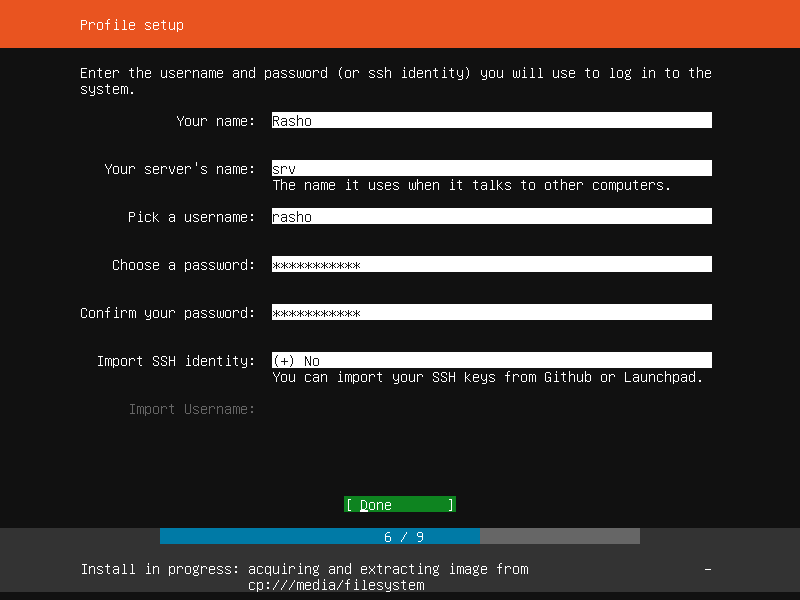
The software is now being installed on the disk, but there is some more information the installer needs. Ubuntu Server needs to have at least one known user for the system, and a hostname. The user also needs a password.
There is also a field for importing SSH keys, either from Launchpad, Ubuntu One or Github. You simply need to enter the username and the installer will fetch the relevant keys and install them on the system ready for use (e.g. secure SSH login to the server).
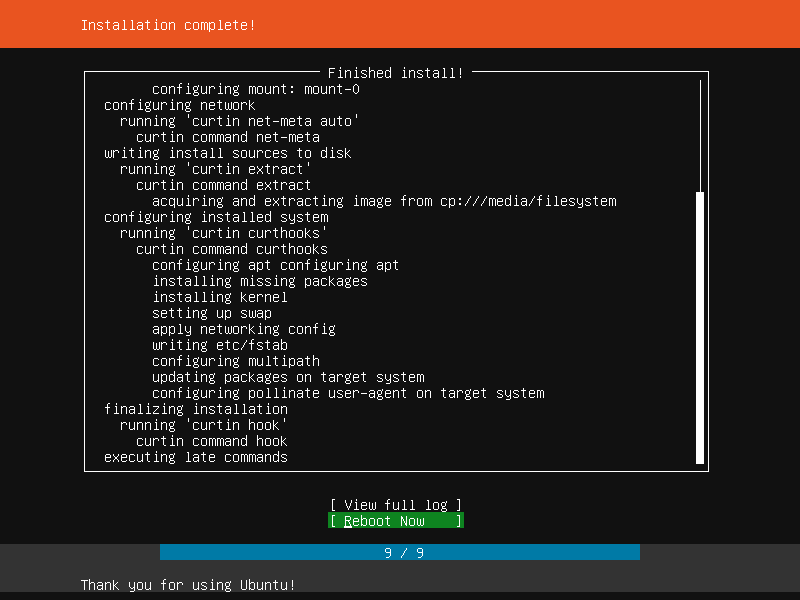
Wait until the installation is complete, then reboot the server.
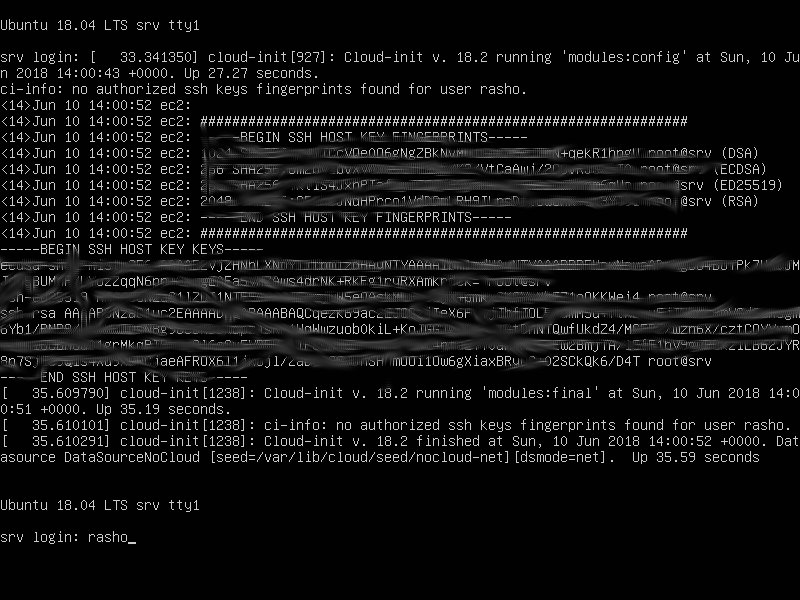
At this screen you must provide the username that what was created in the earlier steps. In this example I have used my name “rasho”. Once logged in, you will be presented with a screen similar to the one below.
This is how to install Ubuntu server on a physical or virtual machine.