
LAMP is an archetypal model of web service solution stacks, named as an acronym of the names of its original four open-source components: the Linux operating system, the Apache HTTP Server, the MySQL/MariaDB relational database management system, and the PHP programming language. The LAMP components are largely interchangeable and not limited to the original selection. As a solution stack, LAMP is suitable for building dynamic web sites and web applications.
In this tutorial, let us see how to install LAMP stack in Fedora 23 server.
Install LAMP on Fedora 23 server
We are going to start out by making sure that our system is up to date with the following command:
# sudo dnf update -y

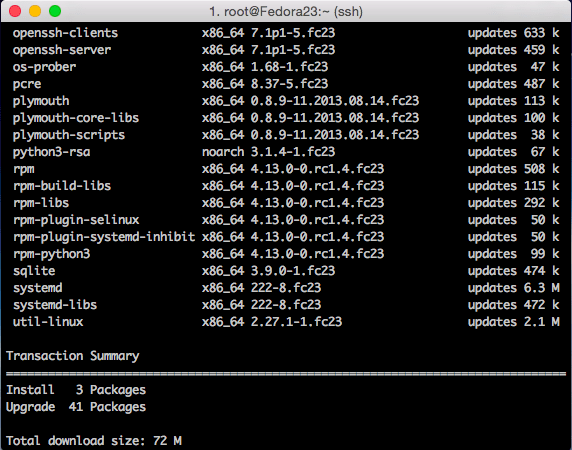
We are now ready to install Apache.
Install Apache server on Fedora 23
Apache is an open-source, multi-platform web server. It provides a full range of web server features including CGI, SSL and virtual domains.
Install Apache by running the following command:
# dnf install httpd
Hit Y and then Enter to when it asks “Is this ok [y/N]” during the install.
Start Apache with the following command:
# systemctl start httpd.service
Enable the httpd service to start automatically on every reboot:
# systemctl enable httpd
And adjust the firewall to allow the httpd service to access it from remote clients.
# firewall-cmd --permanent --add-service=http
# firewall-cmd --permanent --add-service=https
Restart firewalld service:
# firewall-cmd --reload
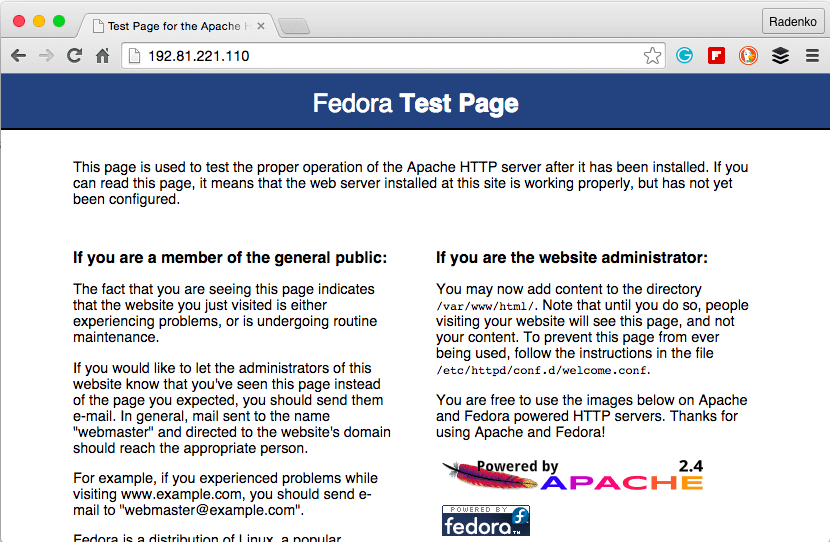
Verify Apache is installed by typing http://ip.add.re.ss on your browser.

Install MariaDB on Fedora 23
MariaDB is a drop in replacement for MySQL. It is a robust, scalable and reliable SQL server that comes rich set of enhancements.
Install it using the following command:
# dnf install mariadb mariadb-server -y
Enable mariadb service at boot time with following command:
# systemctl enable mariadb
And start mariadb service using command:
# systemctl start mariadb
By default mysql root user password is empty. So, to prevent unauthorized access to mysql databases, let us set a root user password:
# mysql_secure_installation
NOTE: RUNNING ALL PARTS OF THIS SCRIPT IS RECOMMENDED FOR ALL MariaDB
      SERVERS IN PRODUCTION USE!  PLEASE READ EACH STEP CAREFULLY!
In order to log into MariaDB to secure it, we'll need the current
password for the root user.  If you've just installed MariaDB, and
you haven't set the root password yet, the password will be blank,
so you should just press enter here.
Enter current password for root (enter for none):
OK, successfully used password, moving on...
Setting the root password ensures that nobody can log into the MariaDB
root user without the proper authorisation.
You already have a root password set, so you can safely answer 'n'.
Change the root password? [Y/n] y     ## Enter 'y' and press enter ##
New password:               ## Enter password ##
Re-enter new password:      ## Re-enter password ##
Password updated successfully!
Reloading privilege tables..
 ... Success!
By default, a MariaDB installation has an anonymous user, allowing anyone
to log into MariaDB without having to have a user account created for
them.  This is intended only for testing, and to make the installation
go a bit smoother.  You should remove them before moving into a
production environment.
Remove anonymous users? [Y/n]    ## Press Enter ##
 ... Success!
Normally, root should only be allowed to connect from 'localhost'.  This
ensures that someone cannot guess at the root password from the network.
Disallow root login remotely? [Y/n] ## Press Enter ##
 ... Success!
By default, MariaDB comes with a database named 'test' that anyone can
access.  This is also intended only for testing, and should be removed
before moving into a production environment.
Remove test database and access to it? [Y/n] ## Press Enter ##
 - Dropping test database...
ERROR 1008 (HY000) at line 1: Can't drop database 'test'; database doesn't exist
 ... Failed!  Not critical, keep moving...
 - Removing privileges on test database...
 ... Success!
Reloading the privilege tables will ensure that all changes made so far
will take effect immediately.
Reload privilege tables now? [Y/n] ## Press Enter ##
 ... Success!
Cleaning up...
All done!  If you've completed all of the above steps, your MariaDB
installation should now be secure.
Thanks for using MariaDB!
Install PHP
By default Apache server supports the HTML language only, not PHP for that we need to install PHP. To install PHP please follow the steps. Type following line on the terminal and press enter, this command includes a support package for the MariaDB.
# dnf install php php-mysql -y
You need to restart the apache service after the installation of the PHP, to do that type the following on the terminal.
# systemctl restart httpd.service
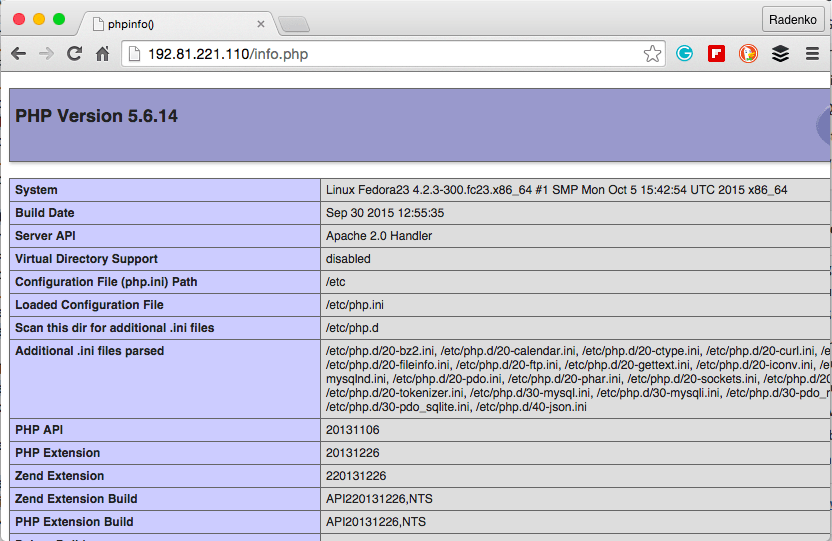
We can verify the PHP installation by creating a test PHP file in the HTML directory below with the following command:
# vi /var/www/html/info.php
Add the following lines:
Now save the file. Go back to your browser and enter the following:
http://ip.add.re.ss/info.php

That’s it. Start using LAMP stack on Fedora 23.