How to install Webmin on CentOS 7.2 server
Webmin is a free and open source web-based interface for system administration for Unix. Using any modern web browser, you can setup user accounts, Apache, DNS, file sharing and much more. Webmin removes the need to manually edit Unix configuration files like /etc/passwd, and lets you manage a system from the console or remotely. See the standard modules page for a list of all the functions built into Webmin. It is available for almost all popular Unix based operating systems including CentOS, Ubuntu, Debian, SUSE, BSD etc.
This article will help you to install and configure Webmin on CentOS, RHEL, and Fedora systems.
Install Dependencies
Before installing any package it is recommended that you update the packages and repository using the following command.
$ yum -y update
Once the system is updated, you can proceed further to install the dependencies required for Webmin.
Before we can install Webmin, you should install few dependencies. Run the following command to install the required dependencies.
$ yum -y install perl perl-Net-SSLeay openssl perl-IO-Tty perl-Encode-Detect
Once the dependencies are installed, you can proceed further to install Webmin.
Install Webmin
First, we need to add the Webmin repository so that we can easily install and update Webmin using our package manager. We do this by adding a new file called /etc/yum.repos.d/webmin.repo that contains information about the new repository.
Create and open this new file using your text editor:
$ nano /etc/yum.repos.d/webmin.repo
Then add these lines to the file to define the new repository:
[Webmin]
name=Webmin Distribution Neutral
#baseurl=http://download.webmin.com/download/yum
mirrorlist=http://download.webmin.com/download/yum/mirrorlist
enabled=1
Save the file and exit from the editor. Now fetch and install the GPG key which was used to sign the packages by running the following command.
$ wget http://www.webmin.com/jcameron-key.asc
$ rpm --import jcameron-key.asc
You can now install Webmin:
$ sudo yum install webmin
Webmin is now installed in your system. Before you can access Webmin dashboard, you will need to configure the firewall.
Webmin dashboard can be accessed on port 10000. If you have a firewall running on your system then you will need to allow port 10000 to be accessed from outside network. Run the following commands to allow port 10000 through the firewall.
$ firewall-cmd --zone=public --add-port=10000/tcp --permanent
$ firewall-cmd --reload
Access to Webmin
You can now access Webmin onhttps://Your_Server_IP:10000. Make sure that you use https as you will not be able to access Webmin on a unencrypted connection. You will get a warning about SSL certificate as we are using Self Signed Certificate here. You should see the following screen once you add an exception for certificate error.
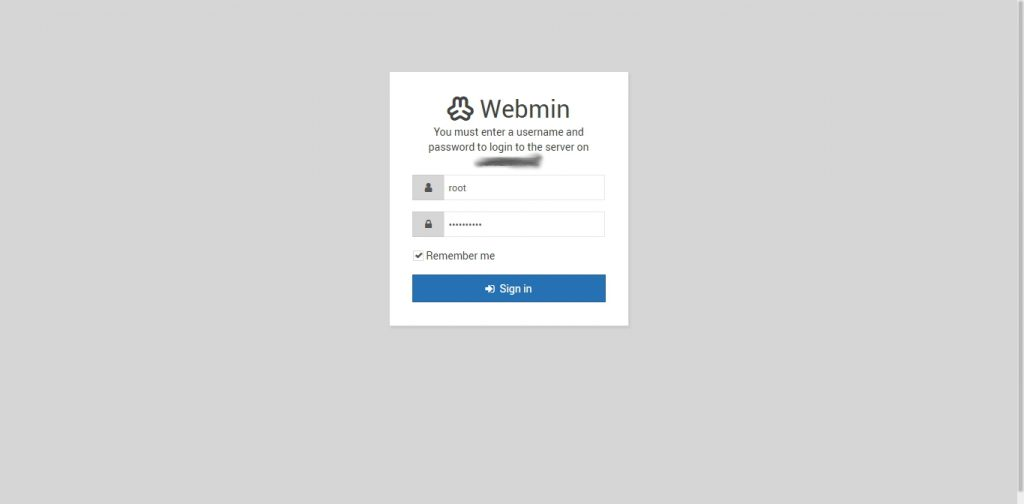
The administration username which you can use to sign in is set to root and the password is your current root password. In the Webmin dashboard, you can see some basic information about your system and recent logins. The modules and services which you can manage through Webmin are listed on the left panel.
That is all!


