How to Install oVirt on CentOS 7
oVirt is an open-source distributed virtualization solution, designed to manage your entire enterprise infrastructure. oVirt uses the trusted KVM hypervisor and is built upon several other community projects, including libvirt, Gluster, PatternFly, and Ansible.
In this article, I will show you how to install oVirt on CentOS 7. So, let’s get started.
Installing the oVirt Engine Packages
First, you have to add the oVirt package repository on CentOS 7. To do that, run the following command:
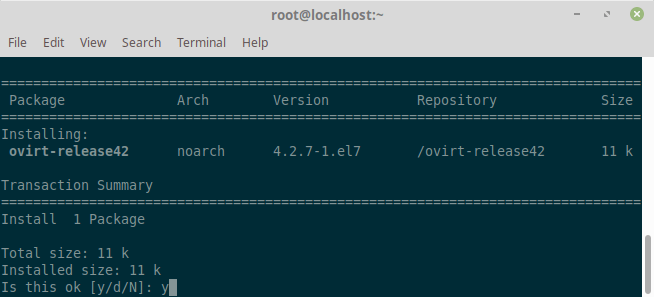
# sudo yum install http://resources.ovirt.org/pub/yum-repo/ovirt-release42.rpm
Now, press y and then press Enter.
Now, you have to update all the packages of your CentOS 7 operating system. To do that, run the following command:
# yum update
[box type=”note” align=”” class=”” width=””]Note: Reboot the machine if any kernel related packages have been updated. [/box]
Run the following command to install the ovirt-engine package and dependencies.
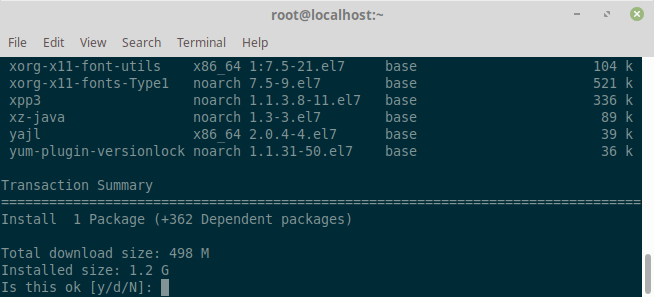
# yum install ovirt-engine
As you can see, 498 MB of packages will be downloaded from the internet. Now, press y and then press .
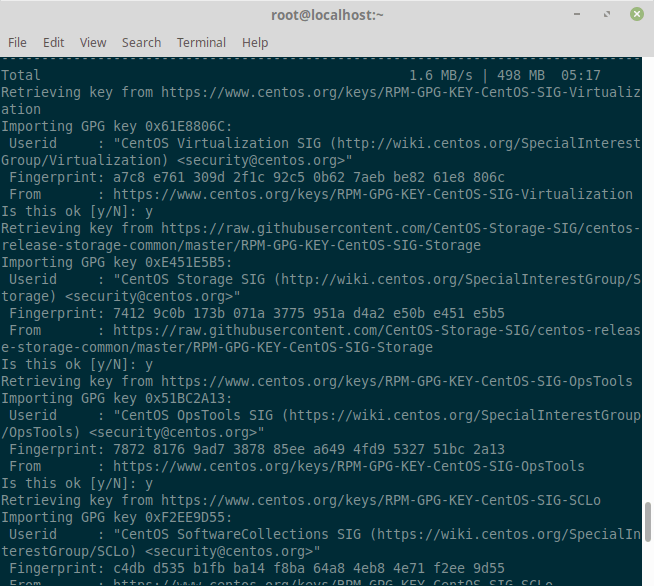
Now, press y and then press Enter to accept the GPG key of the CentOS SIG Virtualization, Storage, OpsTools and SCLo repository.
Configuring oVirt
Run the engine-setup command to begin configuration of the oVirt Engine:
# engine-setup
Pres Enter to configure the engine:
[root@localhost ~]# engine-setup
[ INFO  ] Stage: Initializing
[ INFO  ] Stage: Environment setup
          Configuration files: ['/etc/ovirt-engine-setup.conf.d/10-packaging-jboss.conf', '/etc/ovirt-engine-setup.conf.d/10-packaging.conf']
          Log file: /var/log/ovirt-engine/setup/ovirt-engine-setup-20190101101937-u3tqt3.log
          Version: otopi-1.7.8 (otopi-1.7.8-1.el7)
[ INFO  ] Stage: Environment packages setup
[ INFO  ] Stage: Programs detection
[ INFO  ] Stage: Environment setup
[ INFO  ] Stage: Environment customization

          --== PRODUCT OPTIONS ==--

          Configure Engine on this host (Yes, No) [Yes]: Yes
          Configure ovirt-provider-ovn (Yes, No) [Yes]: Yes
          Configure Image I/O Proxy on this host (Yes, No) [Yes]: Yes
          Configure WebSocket Proxy on this host (Yes, No) [Yes]: Yes

          * Please note * : Data Warehouse is required for the engine.
          If you choose to not configure it on this host, you have to configure
          it on a remote host, and then configure the engine on this host so
          that it can access the database of the remote Data Warehouse host.
          Configure Data Warehouse on this host (Yes, No) [Yes]: Yes
          Configure VM Console Proxy on this host (Yes, No) [Yes]: Yes

          --== PACKAGES ==--

[ INFO  ] Checking for product updates...
[ INFO  ] No product updates found

          --== NETWORK CONFIGURATION ==--

          Host fully qualified DNS name of this server [localhost.localdomain]:
          Setup can automatically configure the firewall on this system.
          Note: automatic configuration of the firewall may overwrite current settings.
          NOTICE: iptables is deprecated and will be removed in future releases
          Do you want Setup to configure the firewall? (Yes, No) [Yes]: Yes
[ INFO  ] firewalld will be configured as firewall manager.

          --== DATABASE CONFIGURATION ==--

          Where is the DWH database located? (Local, Remote) [Local]:
          Setup can configure the local postgresql server automatically for the DWH to run. This may conflict with existing applications.
          Would you like Setup to automatically configure postgresql and create DWH database, or prefer to perform that manually? (Automatic, Manual) [Automatic]:
          Where is the Engine database located? (Local, Remote) [Local]:
          Setup can configure the local postgresql server automatically for the engine to run. This may conflict with existing applications.
          Would you like Setup to automatically configure postgresql and create Engine database, or prefer to perform that manually? (Automatic, Manual) [Automatic]: Automatic

          --== OVIRT ENGINE CONFIGURATION ==--

          Engine admin password:
          Confirm engine admin password:
          Application mode (Virt, Gluster, Both) [Both]: Both
          Use default credentials (admin@internal) for ovirt-provider-ovn (Yes, No) [Yes]: Yes

          --== STORAGE CONFIGURATION ==--

          Default SAN wipe after delete (Yes, No) [No]: No

          --== PKI CONFIGURATION ==--

          Organization name for certificate [localdomain]:

          --== APACHE CONFIGURATION ==--

          Setup can configure the default page of the web server to present the application home page. This may conflict with existing applications.
          Do you wish to set the application as the default page of the web server? (Yes, No) [Yes]:
          Setup can configure apache to use SSL using a certificate issued from the internal CA.
          Do you wish Setup to configure that, or prefer to perform that manually? (Automatic, Manual) [Automatic]:

          --== SYSTEM CONFIGURATION ==--


          --== MISC CONFIGURATION ==--

          Please choose Data Warehouse sampling scale:
          (1) Basic
          (2) Full
          (1, 2)[1]: 1

          --== END OF CONFIGURATION ==--

[ INFO  ] Stage: Setup validation
[WARNING] Cannot validate host name settings, reason: resolved host does not match any of the local addresses
[WARNING] Warning: Not enough memory is available on the host. Minimum requirement is 4096MB, and 16384MB is recommended.
          Do you want Setup to continue, with amount of memory less than recommended? (Yes, No) [No]: Yes

          --== CONFIGURATION PREVIEW ==--

          Application mode                        : both
          Default SAN wipe after delete           : False
          Firewall manager                        : firewalld
          Update Firewall                         : True
          Host FQDN                               : localhost.localdomain
          Configure local Engine database         : True
          Set application as default page         : True
          Configure Apache SSL                    : True
          Engine database secured connection      : False
          Engine database user name               : engine
          Engine database name                    : engine
          Engine database host                    : localhost
          Engine database port                    : 5432
          Engine database host name validation    : False
          Engine installation                     : True
          PKI organization                        : localdomain
          Set up ovirt-provider-ovn               : True
          Configure WebSocket Proxy               : True
          DWH installation                        : True
          DWH database host                       : localhost
          DWH database port                       : 5432
          Configure local DWH database            : True
          Configure Image I/O Proxy               : True
          Configure VMConsole Proxy               : True

          Please confirm installation settings (OK, Cancel) [OK]: Ok
[ INFO  ] Stage: Transaction setup
[ INFO  ] Stopping engine service
[ INFO  ] Stopping ovirt-fence-kdump-listener service
[ INFO  ] Stopping dwh service
[ INFO  ] Stopping Image I/O Proxy service
[ INFO  ] Stopping vmconsole-proxy service
[ INFO  ] Stopping websocket-proxy service
[ INFO  ] Stage: Misc configuration
[ INFO  ] Stage: Package installation
[ INFO  ] Stage: Misc configuration
[ INFO  ] Upgrading CA
[ INFO  ] Initializing PostgreSQL
[ INFO  ] Creating PostgreSQL 'engine' database
[ INFO  ] Configuring PostgreSQL
[ INFO  ] Creating PostgreSQL 'ovirt_engine_history' database
[ INFO  ] Configuring PostgreSQL
[ INFO  ] Creating CA
[ INFO  ] Creating/refreshing DWH database schema
[ INFO  ] Configuring Image I/O Proxy
[ INFO  ] Setting up ovirt-vmconsole proxy helper PKI artifacts
[ INFO  ] Setting up ovirt-vmconsole SSH PKI artifacts
[ INFO  ] Configuring WebSocket Proxy
[ INFO  ] Creating/refreshing Engine database schema
[ INFO  ] Creating/refreshing Engine 'internal' domain database schema
[ INFO  ] Creating default mac pool range
[ INFO  ] Adding default OVN provider to database
[ INFO  ] Adding OVN provider secret to database
[ INFO  ] Setting a password for internal user admin
[ INFO  ] Generating post install configuration file '/etc/ovirt-engine-setup.conf.d/20-setup-ovirt-post.conf'
[ INFO  ] Stage: Transaction commit
[ INFO  ] Stage: Closing up
[ INFO  ] Starting engine service
[ INFO  ] Starting dwh service
[ INFO  ] Restarting ovirt-vmconsole proxy service

          --== SUMMARY ==--

[ INFO  ] Restarting httpd
          Please use the user 'admin@internal' and password specified in order to login
          Web access is enabled at:
              http://localhost.localdomain:80/ovirt-engine
              https://localhost.localdomain:443/ovirt-engine
          Internal CA 71:09:A1:4E:43:EE:07:96:A6:91:44:AB:3C:F0:9A:38:31:DD:52:B0
          SSH fingerprint: SHA256:Zccf8vubbV5AjeoWQA5azv86DDVrXSC93f7JKp4Sfp4
[WARNING] Warning: Not enough memory is available on the host. Minimum requirement is 4096MB, and 16384MB is recommended.

          --== END OF SUMMARY ==--

[ INFO  ] Stage: Clean up
          Log file is located at /var/log/ovirt-engine/setup/ovirt-engine-setup-20190101101937-u3tqt3.log
[ INFO  ] Generating answer file '/var/lib/ovirt-engine/setup/answers/20190101102706-setup.conf'
[ INFO  ] Stage: Pre-termination
[ INFO  ] Stage: Termination
[ INFO  ] Execution of setup completed successfully
Configure firewall
To be able to access the oVirt web based management interface, you have to open HTTP and HTTPS ports. You can easily do it using firewalld on CentOS 7.
To open the HTTP port, run the following command:
# firewall-cmd --add-service=http --permanent
To open the HTTPS port, run the following command:
# sudo firewall-cmd --add-service=https --permanent
Now, reload the firewalld daemon with the following command:
# firewall-cmd --reload
The firewall is configured correctly at this point.
Accessing oVirt Management Interface
Open the web browser and type URL:
https://ovirtengine.example.com
or
https://IP_Address
Replace the domain name or IP address as per your setup.
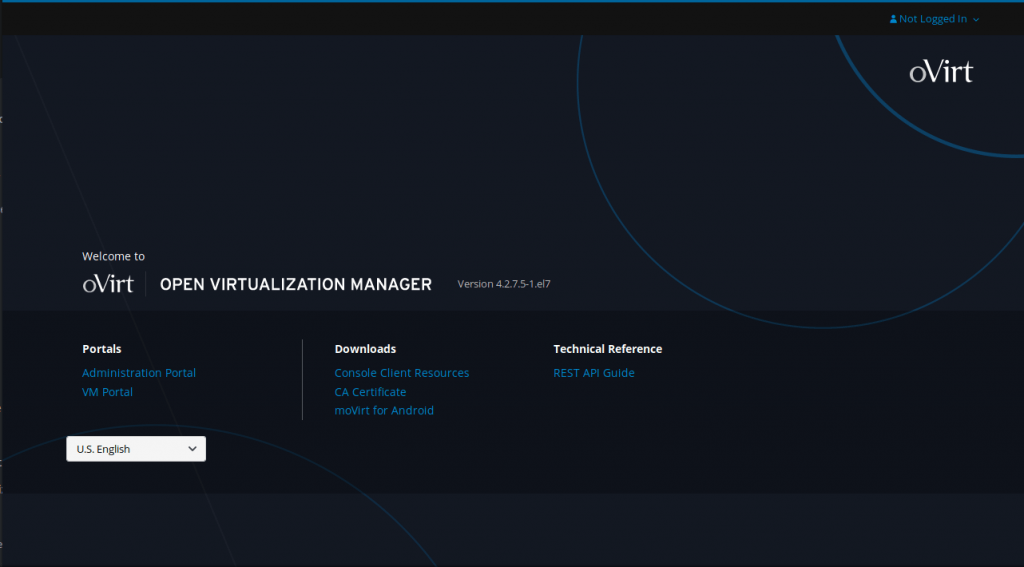
Click on Administrator Portal.
Enter the user name as ‘admin‘ and password that we mentioned during installation and Profile as internal.

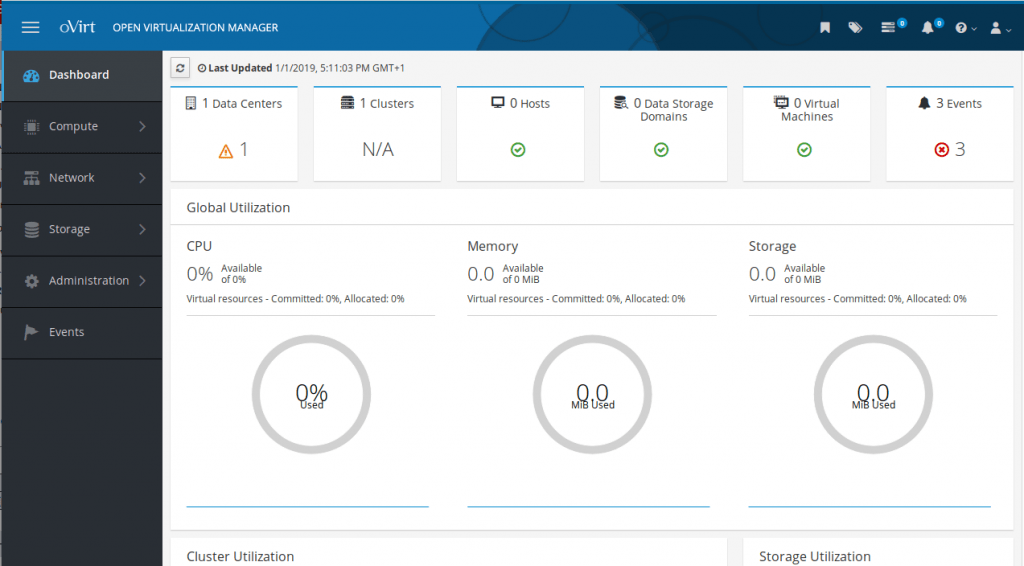
After login, You should see the management interface of oVirt. From here, you can administer oVirt graphically. You can also create virtual machines from here.
So, that’s how you install oVirt on CentOS 7. Thanks for reading this article.


Hi,
It is now being 3 days that I struggle to get overt running and I cannot find the solution of any issue on the internet. I always get the “The redirection URI for client is not registered “ error message popping up. I make sure to use the DNS and not the IP address to reach the server . Any idea how about fixing that ?
I believe you can turn of this check by setting:
SSO_CALLBACK_PREFIX_CHECK=false
/etc/ovirt-engine/engine.conf.d/11-setup-sso.conf
but you should check if your ENGINE_FQDN matches what you are using in /etc/
ovirt-engine/engine.conf.d/10-setup-protocols.conf.
I get this error when I install localhost kvm on computer. Ovirt Standalone installation.
Command returned failure code 1 during SSH session. How do I fix the problem.
I needs some help. Working on the problem for couple of months.
You need to switch libvirtd from listening to a UNIX sockets, to ‘traditional mode’ normal ports. That can be done with:
Hello there.
Did anyone had error
Failed to execute stage ‘Environment setup’: Cannot connect to Engine database using existing credentials: engine@localhost:5432
I couln’t find nothing about it