

Nginx (Engine X) is a most popular, powerful and high-performance open-source HTTP web server and reverse proxy server with a scalable event-driven (asynchronous) architecture. It can be used as a standalone web server, load balancer, content cache, and reverse proxy for HTTP and non-HTTP servers.
In this article, we will explain how to install the Nginx HTTP web server on a CentOS 8 Linux server.
Prerequisites
Before continuing, make sure you are logged in as a user with sudo privileges, and you don’t have Apache or any other process running on port 80 or 443.
Installing Nginx on CentOS 8
To install the latest version of Nginx web server, you need to update the system software packages using the following yum command.
# dnf -y update
Once software updates installed, you can install the latest stable Nginx server from the default package repositories using the following commands.
# dnf -y install nginx
Once Nginx installed, you can start, enable and verify the status by running following systemctl commands
# systemctl enable nginx
# systemctl start nginx
To verify that the service is running, check its status:
# systemctl status nginx
Example output:
# systemctl status nginx
● nginx.service - The nginx HTTP and reverse proxy server
   Loaded: loaded (/usr/lib/systemd/system/nginx.service; enabled; vendor preset: disabled)
   Active: active (running) since Thu 2020-02-13 18:03:33 UTC; 9s ago
  Process: 20429 ExecStart=/usr/sbin/nginx (code=exited, status=0/SUCCESS)
  Process: 20427 ExecStartPre=/usr/sbin/nginx -t (code=exited, status=0/SUCCESS)
  Process: 20426 ExecStartPre=/usr/bin/rm -f /run/nginx.pid (code=exited, status=0/SUCCESS)
 Main PID: 20431 (nginx)
    Tasks: 2 (limit: 5067)
   Memory: 11.6M
   CGroup: /system.slice/nginx.service
           ├─20431 nginx: master process /usr/sbin/nginx
           └─20432 nginx: worker process

Feb 13 18:03:32 lintutloc systemd[1]: Starting The nginx HTTP and reverse proxy server...
Feb 13 18:03:32 lintutloc nginx[20427]: nginx: the configuration file /etc/nginx/nginx.conf syntax is ok
Feb 13 18:03:32 lintutloc nginx[20427]: nginx: configuration file /etc/nginx/nginx.conf test is successful
Feb 13 18:03:32 lintutloc systemd[1]: nginx.service: Failed to parse PID from file /run/nginx.pid: Invalid argument
Feb 13 18:03:33 lintutloc systemd[1]: Started The nginx HTTP and reverse proxy server.
[box type=”info” align=”” class=”” width=””]Commands to start/stop/restart nginx server
Run command as per your needs.
# systemctl start nginx ## <-- start the server ## # systemctl stop nginx ## <-- stop the server ## # systemctl restart nginx ## <-- restart the server ## # systemctl reload nginx ## <-- reload the server ## # systemctl status nginx ## <-- get status of the server ##
[/box]
Adjusting the Firewall
Open and enable port 80 and 443 to allow web traffic on Nginx on the system firewall using following firewall-cmd commands.
# firewall-cmd --zone=public --permanent --add-service=http
# firewall-cmd --zone=public --permanent --add-service=https
# firewall-cmd --reload
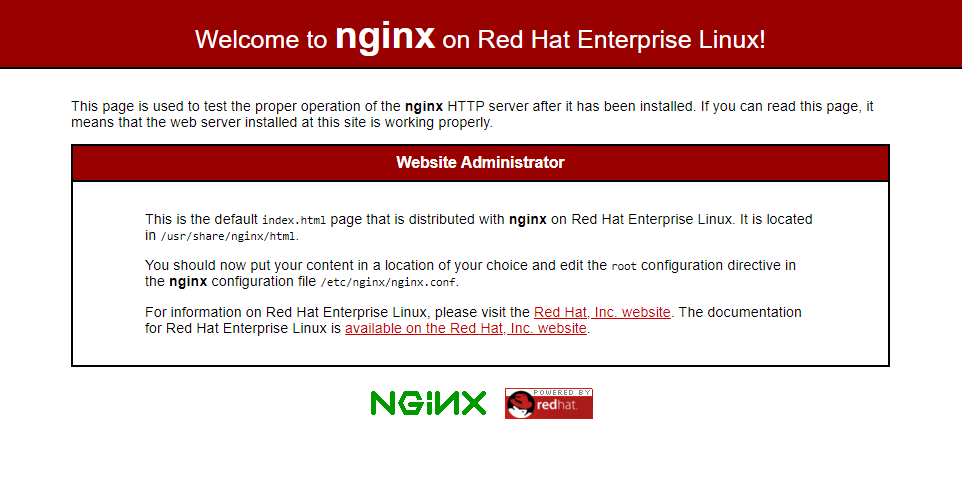
Now, you can test your Nginx installation, by opening http://YOUR_IP in your web browser. You should see the default Nginx welcome page, which should look like the image below:

Nginx Configuration File’s Structure and Best Practices
- All Nginx configuration files are located in the
/etc/nginx/directory. - The main Nginx configuration file is
/etc/nginx/nginx.conf. - Creating a separate configuration file for each domain makes the server easier to maintain.
- The Nginx server block files must end with
.confand be stored in/etc/nginx/conf.ddirectory. You can have as many server blocks as you want. - It is a good practice to follow a standard naming convention. For example, if the domain name is
mydomain.comthen the configuration file should be namedmydomain.com.conf - If you use repeatable configuration segments in your domain server blocks, it is a good idea to refactor those segments into snippets.
- Nginx log files (
access.loganderror.log) are located in the/var/log/nginx/directory. It is recommended to have a differentaccessanderrorlog files for each server block. - You can set your domain document root directory to any location you want. The most common locations for webroot include:
/home/<user_name>/<site_name>/var/www/<site_name>/var/www/html/<site_name>/opt/<site_name>/usr/share/nginx/html
Conclusion
Congratulations, you have successfully installed Nginx on your CentOS 8 server. You’re now ready to start deploying your applications and use Nginx as a web or proxy server.
If you have any questions or feedback, feel free to leave a comment.