

CentOS is a free and open source operating system derived from the sources of Red Hat Enterprise Linux (RHEL). CentOS (Community Enterprise Operating System) is a community-supported distribution of Linux. CentOS 8 is the latest version of CentOS operating system and it has been released last week.
In this article, we will demonstrate how to install CentOS 8 Server step by step with screenshots.
CentOS 8 features
- DNF is the default package manager though yum can also be used.
- Network configuration will be controlled by Network Manager (nmcli & nmtui) as network scripts are removed.
- Podman utility to manage containers
- Introduction of two new packages repositories: BaseOS and AppStream
- Cockpit available as default server management tool
- Wayland is the default display server
- Iptables are replaced by nftables
- Linux Kernel 4.18
- PHP 7.2, Python 3.6, Ansible 2.8, VIM 8.0 and Squid 4
Prerequisites
Before you begin, perform a flight check and ensure you have the following:
- Download CentOS 8 DVD ISO Image.
- Create a bootable instance of CentOS 8 USB drive or DVD using Rufus tool.
- A system with a minimum of 8GB Hard disk space and 2 GB for optimal performance.
- A good internet connection.
CentOS 8 Minimal Installation Steps with Screenshots
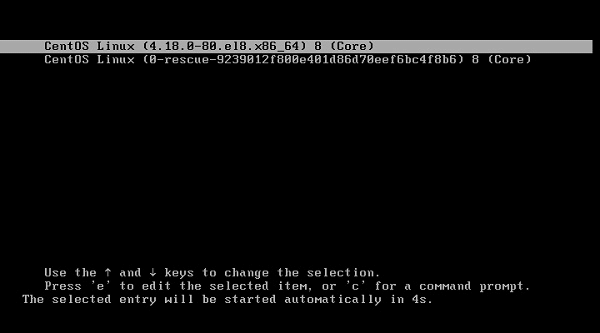
1. Choose “Install CentOS Linux 8.0” option
With your PC turned on, plug in your bootable USB drive or insert the CentOS 8 DVD medium and reboot. Make sure to change the boot order in your BIOS settings in order to boot from your preferred boot medium.
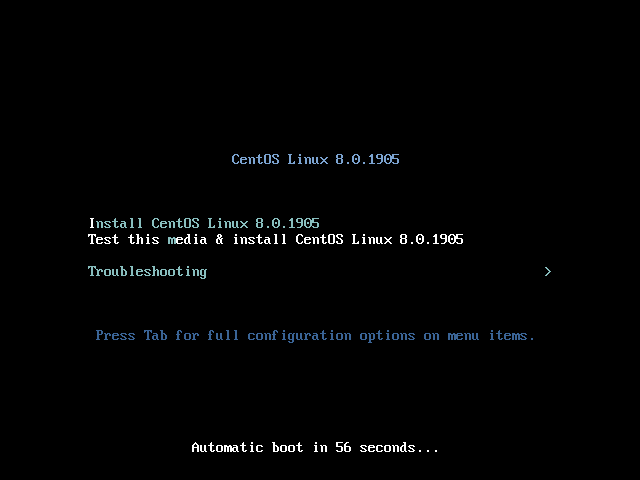
The boot screen will be displayed as shown below. Select the first option Install CentOS Linux 8.0.1905 and Hit “ENTER“.

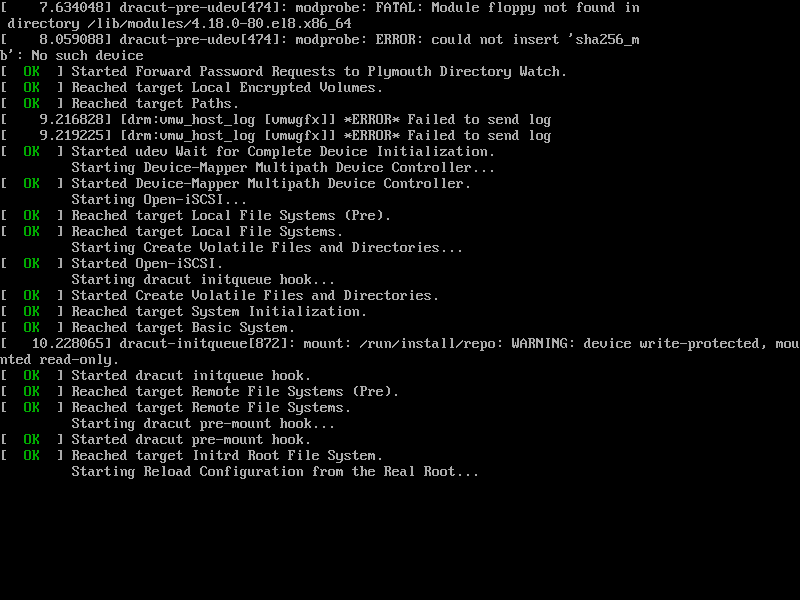
Boot messages will follow thereafter as shown.
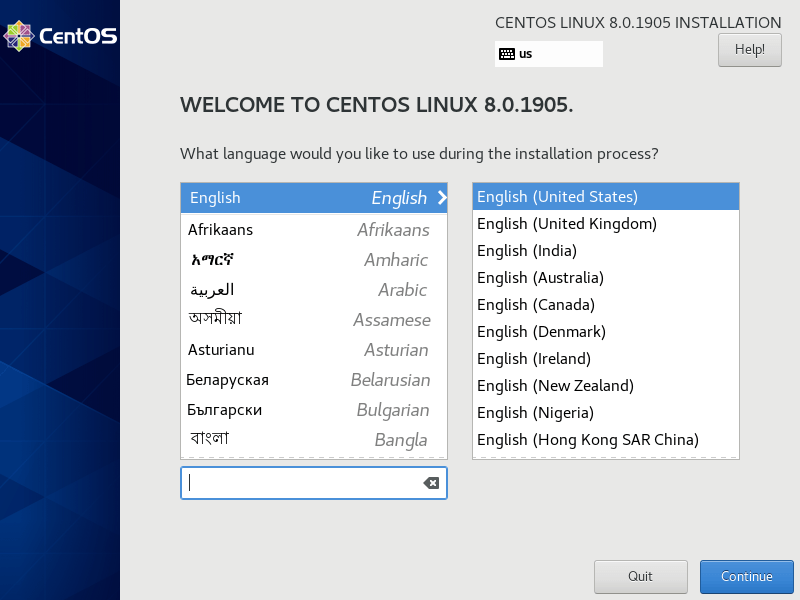
2. Select your preferred language
Choose the language that suits to your CentOS 8 installation and then click on Continue,
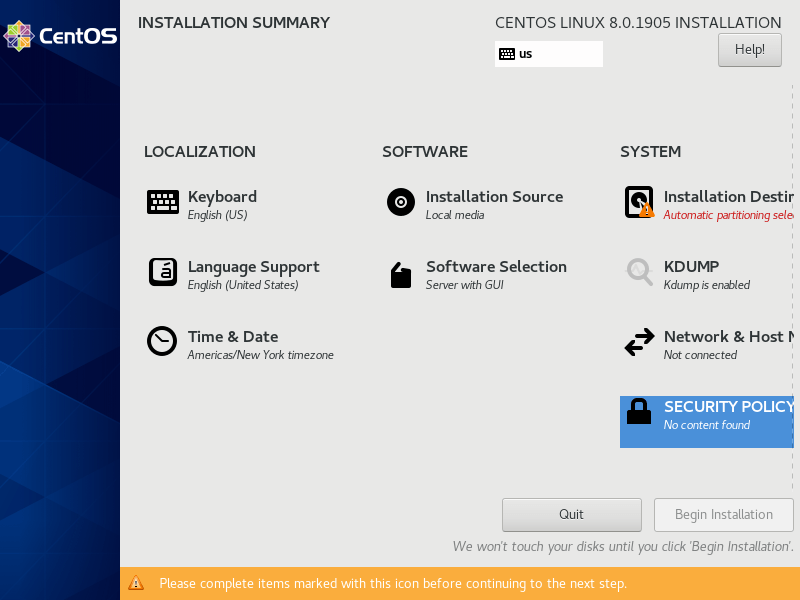
3. Preparing CentOS 8 Installation
In this step we will configure the followings:
- Keyboard Layout
- Date / Time
- Installation Source
- Software Selection
- Installation Destination
- Kdump
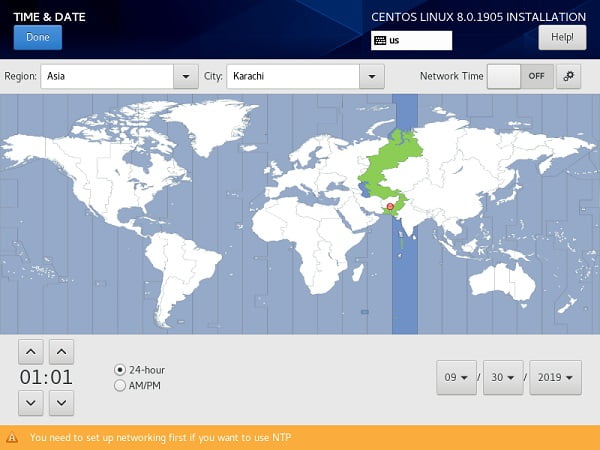
Set Time and Date
First of all click on Time & Date to set the timezone according to your region.
Select your relevant timezone and adjust the date and time here.
Click on Done to return to Installation Summary screen.
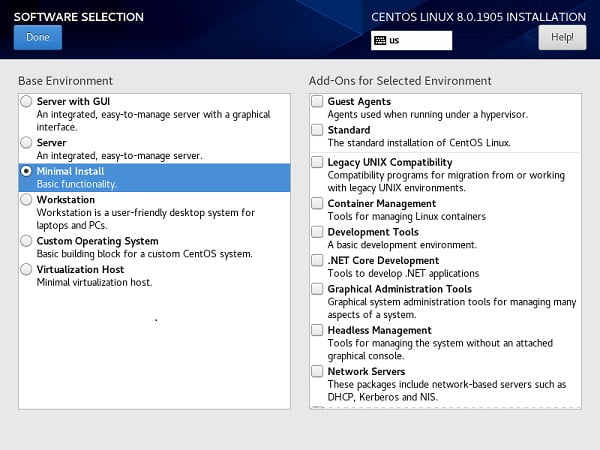
Softtware selection
Choose your preferred option from Software Selection, in case you want to install minimal server choose “Minimal Install” option. Click on Done to return to Installation Summary screen.
Installation Destination
Click on the Installation Destination to configure disks/partitions.
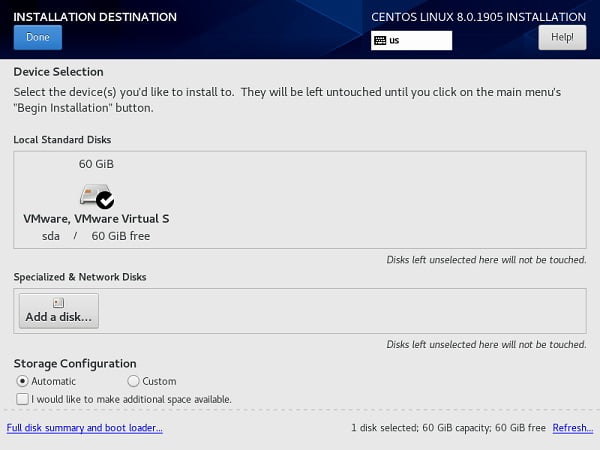
In this section, you will determine where to install CentOS 8 and configure the mount points. By default, the installer auto-detects your hard drives and selects the automatic partitioning option. If you are satisfied with the automatic partitioning, click on Done to automatically create the mount points.
Set Network and Hostname
Back to the main menu, click on the Network and Hostname settings option.
By default, the networking is not enabled for the Ethernet interface.
Enable DHCP Network configurations by click on the ON option at the right side of the screen.
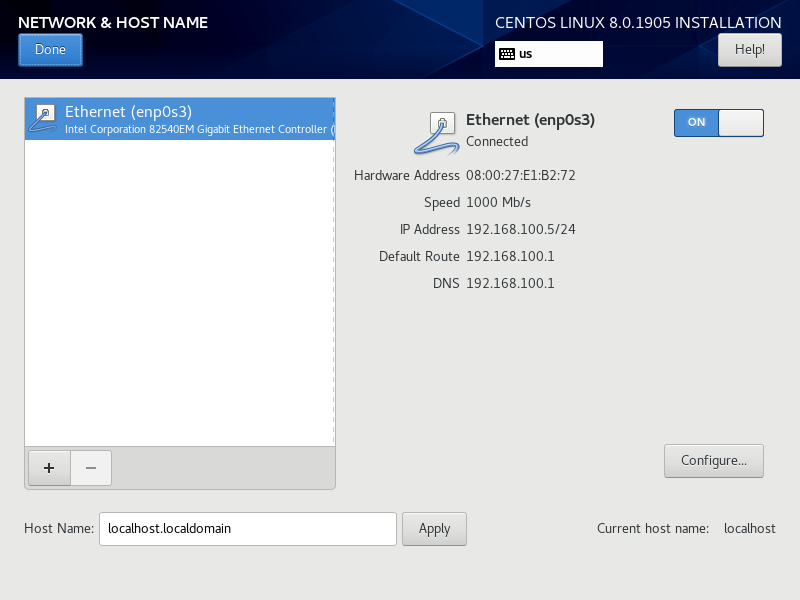
Set a custom Host Name in the text box at the bottom of the screen and then click on Apply.Click on Done to return to Installation Summary screen.
4. Begin the CentOS 8 Installation
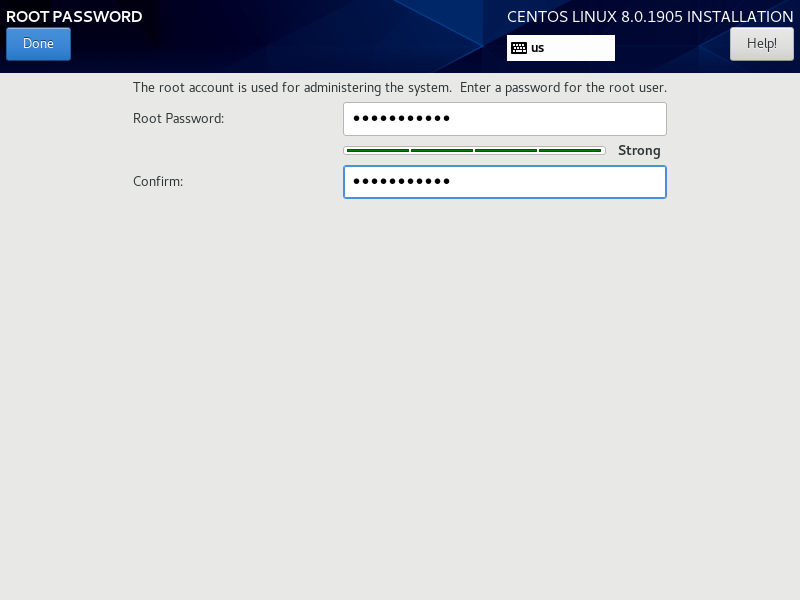
Having configured all the options, click on Begin the installation to commence the installation process. While installation is in progress, we can configure two more option thereon. First, click on Root Password to set a password for root user.
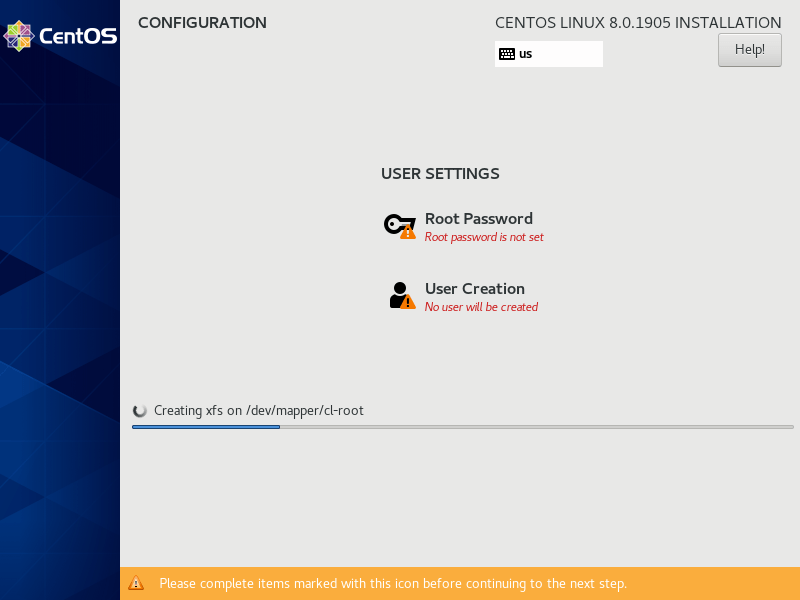
First, click on Root Password to set a password for root user. You are required to click twice on Done, if you have set a weak password.
Now, click on User Creation to create another user.
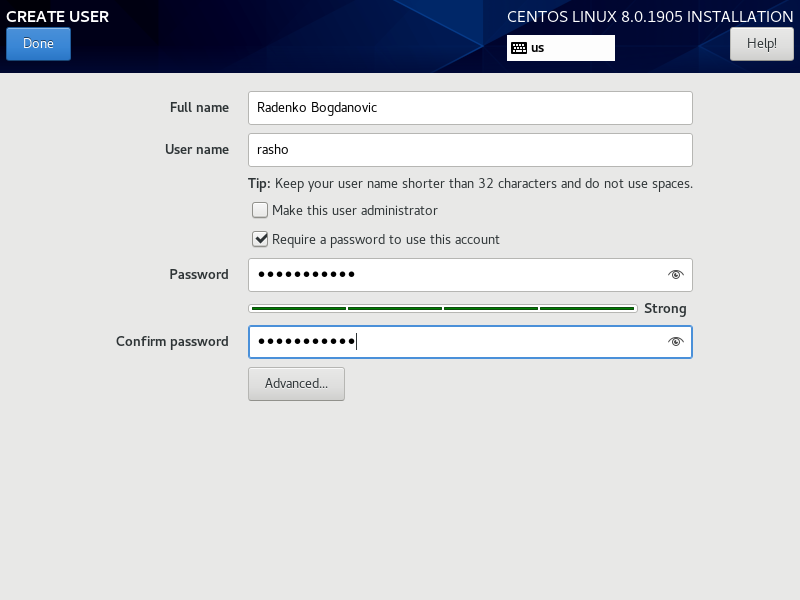
Click on Done to return to Installation Progress screen. You are required to click twice on Doneif you have set a weak password.
5. CentOS 8 Installation Process
The installer will proceed to install the selected CentOS 8 packages, dependencies, and the grub bootloader. It won’t be take so long, because we are installing CentOS 8 with minimal option.
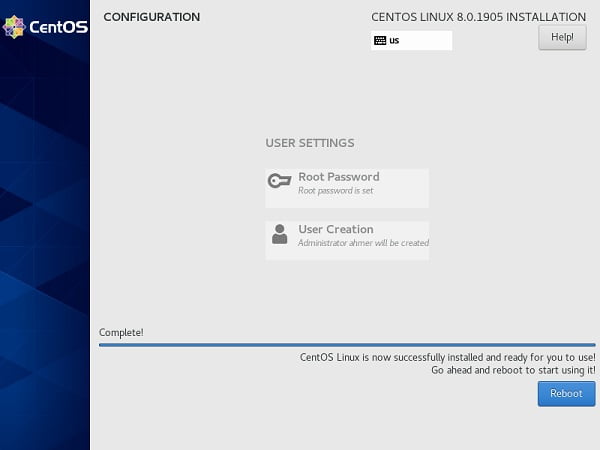
Click on Reboot to restart the system. We are now at the CentOS 8 GRUB boot menu. Select the first option and press ENTER.
We are reached at the CLI login prompt of CentOS 8.


Minimal installation of CentOS 8 has been performed successfully. Feel free to leave a comment if you have any questions.
See also: How to install CentOS 6.5 minimal