How to install Apache SVN on RHEL/CentOS7
From Wikipedia:
Apache Subversion (often abbreviated SVN, after the command name svn) is a software versioning and revision control system distributed as free software under the Apache License.
Developers use Subversion to maintain current and historical versions of files such as source code, web pages, and documentation. Its goal is to be a mostly compatible successor to the widely used Concurrent Versions System (CVS).
The free software community has used Subversion widely: for example in projects such as Apache Software Foundation, Free Pascal, FreeBSD, GCC, Mono and SourceForge. Google Code also provides Subversion hosting for their free software projects. CodePlex offers access to Subversion as well as to other types of clients.
The corporate world has also started to adopt Subversion. A 2007 report by Forrester Research recognized Subversion as the sole leader in the Standalone Software Configuration Management (SCM) category and as a strong performer in the Software Configuration and Change Management (SCCM) category.
In this article we can see how to setup svn server on RHEL/CentOS 7.
Installing webserver
First, update your system:
yum update -y
Now, install Apache webserver:
yum -y install httpd httpd-tools
Allow http and https trough firewall:
firewall-cmd --permanent --zone=public --add-service=http
firewall-cmd --permanent --zone=public --add-service=https
firewall-cmd --reload
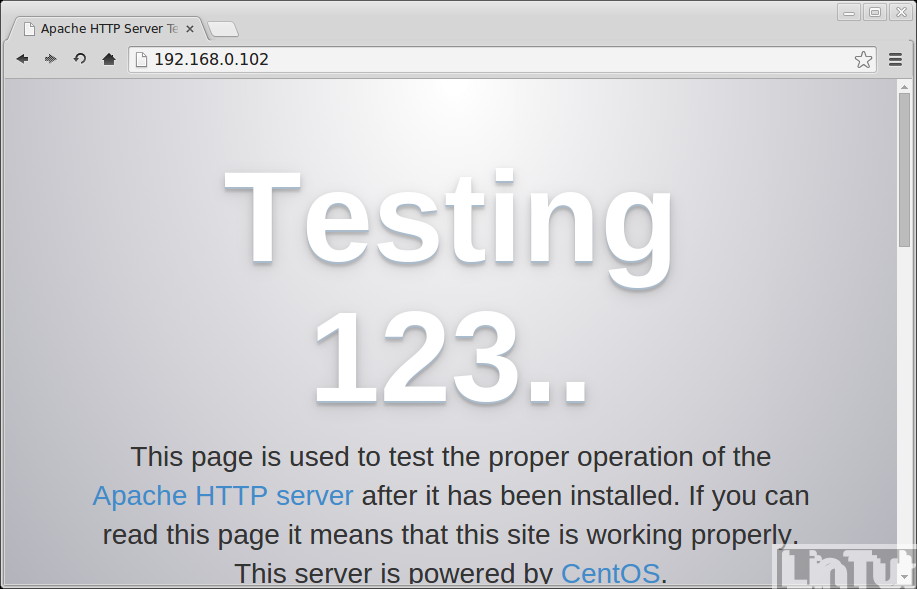
Start http service and check it by visiting http://ip.add.re.ss
systemctl start httpd.service
Install and configure Subversion
Once the Apache is installed, issue the following command to install subversion.
yum -y install subversion subversion-tools mod_dav_svn
Now create new directory for svn repository.
mkdir /svn
Create a new repository in the svn by issuing the below command
svnadmin create /svn/testrepo
Change the permission of the repository in such a way that Apache can read and write.
chown -R apache:apache /svn/testrepo/
If you have SELinux enabled on the system, run the following command.
chcon -R -t httpd_sys_content_t /svn/testrepo/
chcon -R -t httpd_sys_rw_content_t /svn/testrepo/
Now, create a password file “testrepo.users” with username “lintut” by typing below command
htpasswd -cm /svn/testrepo.users lintut
Now open the SVN apache config file ( /etc/httpd/conf.d/svn.conf ) and add the below lines at the end of the file .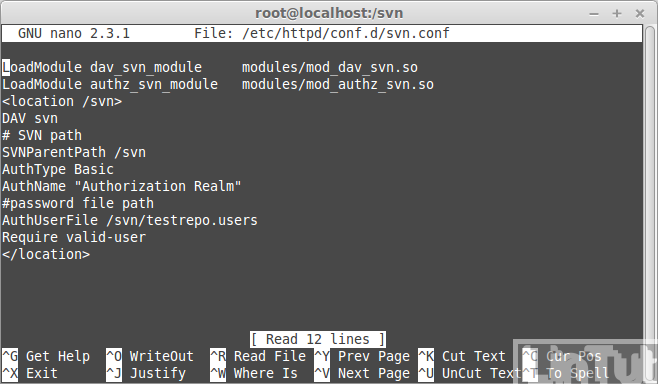
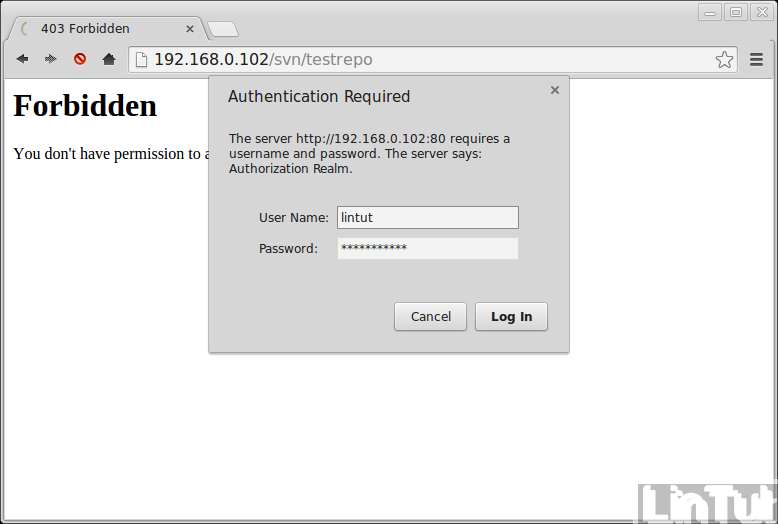
You can visit the url http://ip.add.re.ss/svn/testrepo to check out the content, you will be asked to enter the user name and password
Create basic repository structure with the below commands
mkdir -p /tmp/svn/{trunk,branches,tags}
svn import -m 'Initializing basic repository structure' /tmp/svn/ http://localhost/svn/testrepo/
