
Nextcloud is an open source, self-hosted file share and collaboration platform, similar to Dropbox. It comes bundled with media player, calendar and contact management.
Nextcloud is extensible via apps and has desktop and mobile clients for all major platforms.
In this post, we will see how to Install Nextcloud on CentOS 7.
Features
- Access your files anytime, anywhere.
- Share your files with the other users. Create and send password protected public links.
- Two-factor authentication with TOTP and QR code.
- Monitor the activity on your NextCloud server.
- NextCloud can access files stored in external cloud storage service providers such as Amazon, Google, and Dropbox.
More here.
Installing PHP and Apache
Nextcloud is a PHP application. CentOS 7 ships with PHP 5.4 which is not supported by Nextcloud.
We will install PHP 7.2 from the Remi repository. The commands below will enable EPEL and Remi repositories:
# yum install epel-release yum-utils
# yum install http://rpms.remirepo.net/enterprise/remi-release-7.rpm
# yum-config-manager --enable remi-php72
Once the repositories are enabled install Apache PHP 7.2 and all required PHP extensions with the following command:
# yum install httpd php php-gd php-json php-mysql php-curl php-mbstring php-intl php-mcrypt php-imagick php-xml php-zip
Creating MySQL Database
NextCloud can use SQLite, PostgreSQL or MySQL database to store all its data.
In this tutorial we will use MariaDB as the database of choice.
If you already don’t have MariaDB installed on your CentOS server you can install by following instruction below:
Ensure MariaDB service is running before attempting to create the database. Now, login to MariaDB server.
# mysql -u root -p
Create a database called “nextclouddb”
MariaDB [(none)]> CREATE DATABASE nextclouddb CHARACTER SET utf8mb4 COLLATE utf8mb4_general_ci;
Allow “nextclouduser” to access the “nextclouddb” database on localhost with a predefined password.
MariaDB [(none)]> GRANT ALL ON nextclouddb.* TO 'nextclouduser'@'localhost' IDENTIFIED BY 'change-with-strong-password';
MariaDB [(none)]> FLUSH PRIVILEGES;
Exit from the MariaDB prompt.
MariaDB [(none)]>EXIT;
Configuring firewall
Configure the firewall to allow access to the Nextcloud storage from external machines.
# firewall-cmd --permanent --zone=public --add-service=http
# firewall-cmd --permanent --zone=public --add-service=https
# firewall-cmd --reload
Downloading Nextcloud
Download the latest version of Nextcloud from the Nextcloud download page with wget:
# wget https://download.nextcloud.com/server/releases/nextcloud-15.0.2.zip
Once the download is complete, extract the archive to the /var/www directory:
# unzip nextcloud-15.0.2.zip -d /var/www/
Set the ownership of the files inside the NextCloud directory so that apache user can write the data into it.
# chown -R apache: /var/www/nextcloud
Configure Apache
Open your text editor and create the following Apache configuration file.
# vi /etc/httpd/conf.d/nextcloud.conf
Paste the following configuration there.
Alias /nextcloud "/var/www/nextcloud/"

<Directory /var/www/nextcloud/>
Options +FollowSymlinks
AllowOverride All

<IfModule mod_dav.c>
Dav off
</IfModule>

SetEnv HOME /var/www/nextcloud
SetEnv HTTP_HOME /var/www/nextcloud

</Directory>
Activate the changes by restarting Apache service:
# systemctl restart httpd
Install Nextcloud
Open up your web browser, point a URL to
http://domain_name_or_ip_address/nextcloud
You will be presented with the Nextcloud setup page.

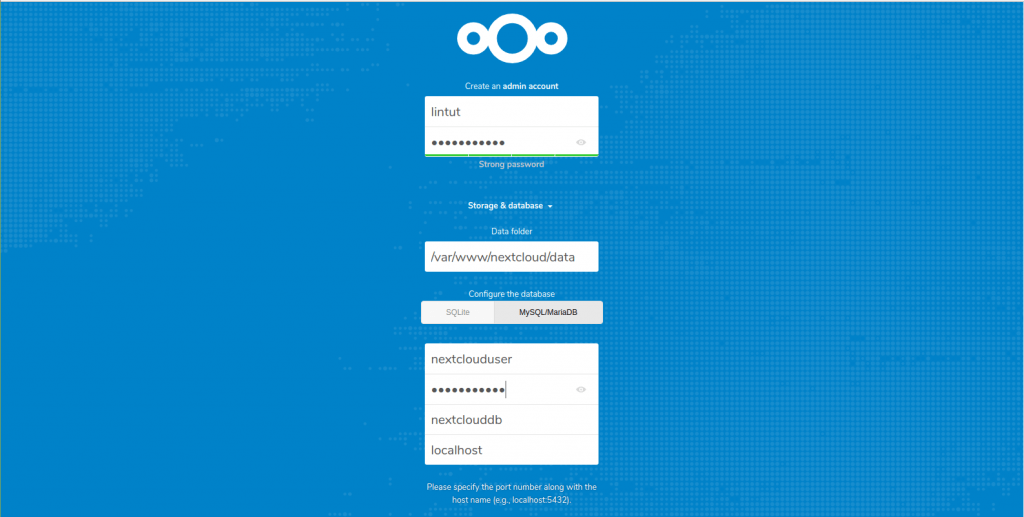
The browser will take you automatically to NextCloud setup page where you have to begin the setup of NextCloud.
Enter admin details (username and password), data folder location where all of your documents get saved, and database information.
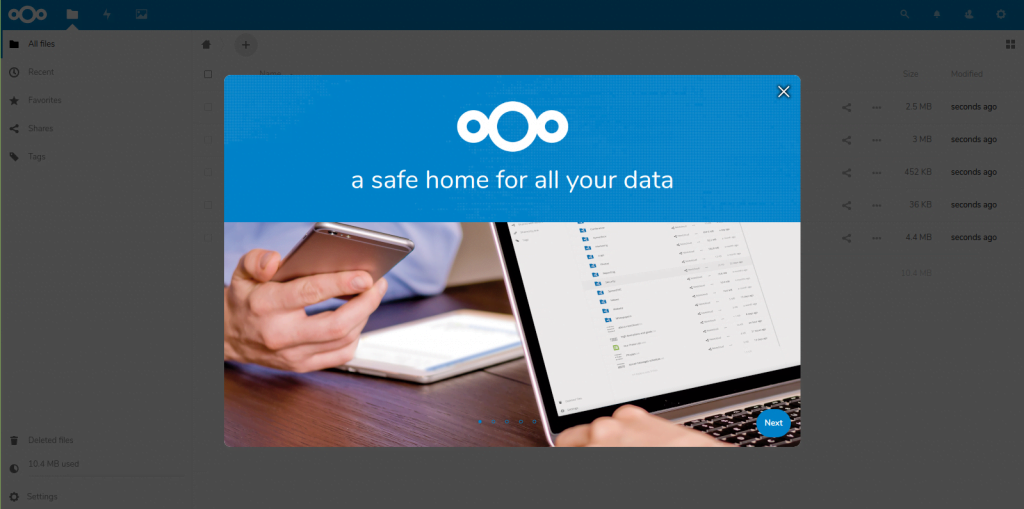
Click on the Finish setup button and once the installation process is completed you will be redirected to the Nextcloud dashboard logged in as admin user.

That’s All. To find more information about how to manage your Nextcloud instance visit the Nextcloud documentation page.
If you have any question, please leave a comment below.